Looking at that plain and dusty concrete floor in your garage, you probably want to have a new floor made of something better. Epoxy flooring is the best solution for you. It provides you with a very strong, long-lasting, and wear-and-tear-resistant floor—pretty much with cars and tools.
Initially, we perform a very thorough inspection of the flooring to determine mainly two things—moisture and cleanliness. First, we check whether the concrete is allowing too much moisture through since this would lead to epoxy failure. Then we go through the floor very carefully to find and remove any oil, grease or old paint that might inhibit the resin’s adhesion.
Cracks, holes, and rough edges are also located on and around the floor. Before we proceed with the grinding, these areas are treated with a special concrete filler to ensure the surface is both solid and smooth for resin application.
Step 2: Roughen the Floor (Grinding)
You cannot simply pour epoxy onto smooth concrete. The surface must be rough and porous so the epoxy resin has a deep texture to grip onto. This step guarantees a strong, permanent bond.
We use a big machine with diamond pads to grind the entire surface. This process is called mechanical preparation. The main purpose of grinding is to remove the top layer of the floor. It mostly cleans the floor and prepares the concrete’s small pores for the primer. Once grinding is done, industrial vacuums are used to remove all the dust and ensure the floor is clean and ready.
Step 3: Put Down the Primer Coat
The primer acts as a binding layer of good adhesion for the main layers. Its sealing feature prevents air bubbles trapped inside the slab from surfacing which otherwise could mar the ugly black spots on the final coat. It also gives the main colour coat an even stronger layer to stick to.
The two components of the epoxy primer are mixed, and then a thin layer is rolled evenly over the entire floor. It guarantees that the whole concrete is both covered and ready for the next stage of the application question process.
Step 4: Apply the Main Colour Coat
This is the main, thick layer that gives the floor strength and colour. We mix the two parts of the epoxy resin carefully using a mechanical mixer. Once mixed, we have to work fast because it starts to get hard quickly!
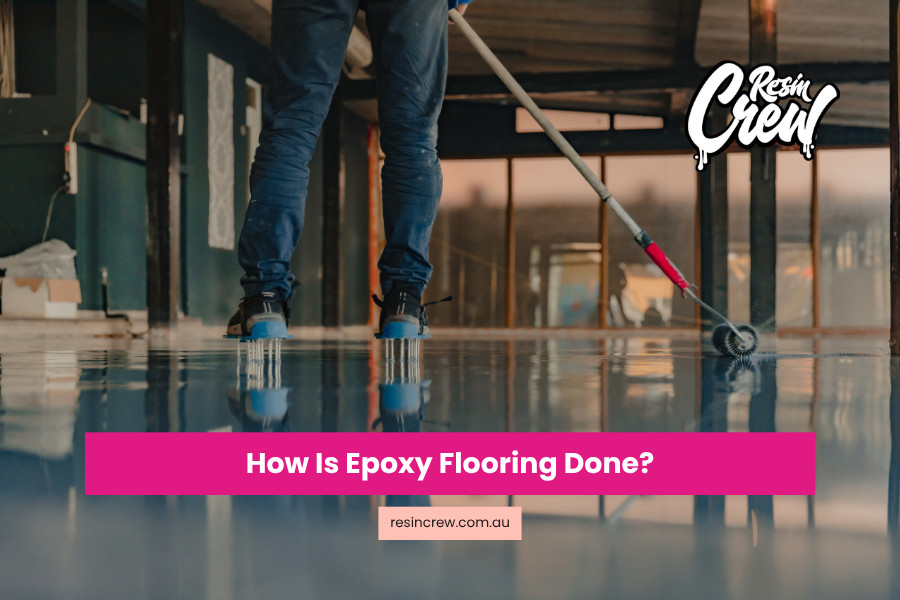
We pour the mixture onto the floor in sections. Then we use rollers to spread it out evenly to the correct thickness. In case the client requires a flake floor, we generously spread the colored chips on this still wet coat (through the floor) until the decorative pieces cover the entire floor.
Step 5: Clean Up the Flakes (For Flake Floors Only)
If we scattered decorative flakes, this one is a must once the main color coat is already dry (normally 12 to 24 hours later). We use a tool to scrape off all the loose, standing flakes that didn’t stick flat onto the surface.
We then vacuumed the floor thoroughly one last time. This procedure gets rid of all the loose pieces and assures that only the suitably adhered flakes are there, which in turn provides a smooth ground for the last protective topcoat to be applied.
Step 6: Apply the Clear Topcoat
This is the last layer of protection. We generally use some specific clear coats (like polyaspartic) because they are extremely durable, do not get yellowish from UV radiation, and are less prone to scratching than standard epoxy coatings. They protect the colour coat underneath.
After the topcoat is mixed, it is rolled onto the flooring area. An anti-slip material can be added to this layer if it is required in the location, for example, for ramps or wet areas.
Step 7: The Waiting Game (Cure Time)
The floor has to go through a process of “curing,” that is, of becoming fully hard, before it can be declared strong at its maximum. Usually, you are allowed to walk on the newly coated floor, though with great care, after about 24 hours of application.
For light use, like parking a small car, it’s generally safe after 3 to 7 days. The floor reaches its full strength after about 7 days. It is better not to park heavy vehicles or allow spillage of strong chemicals until the complete curing period is over.